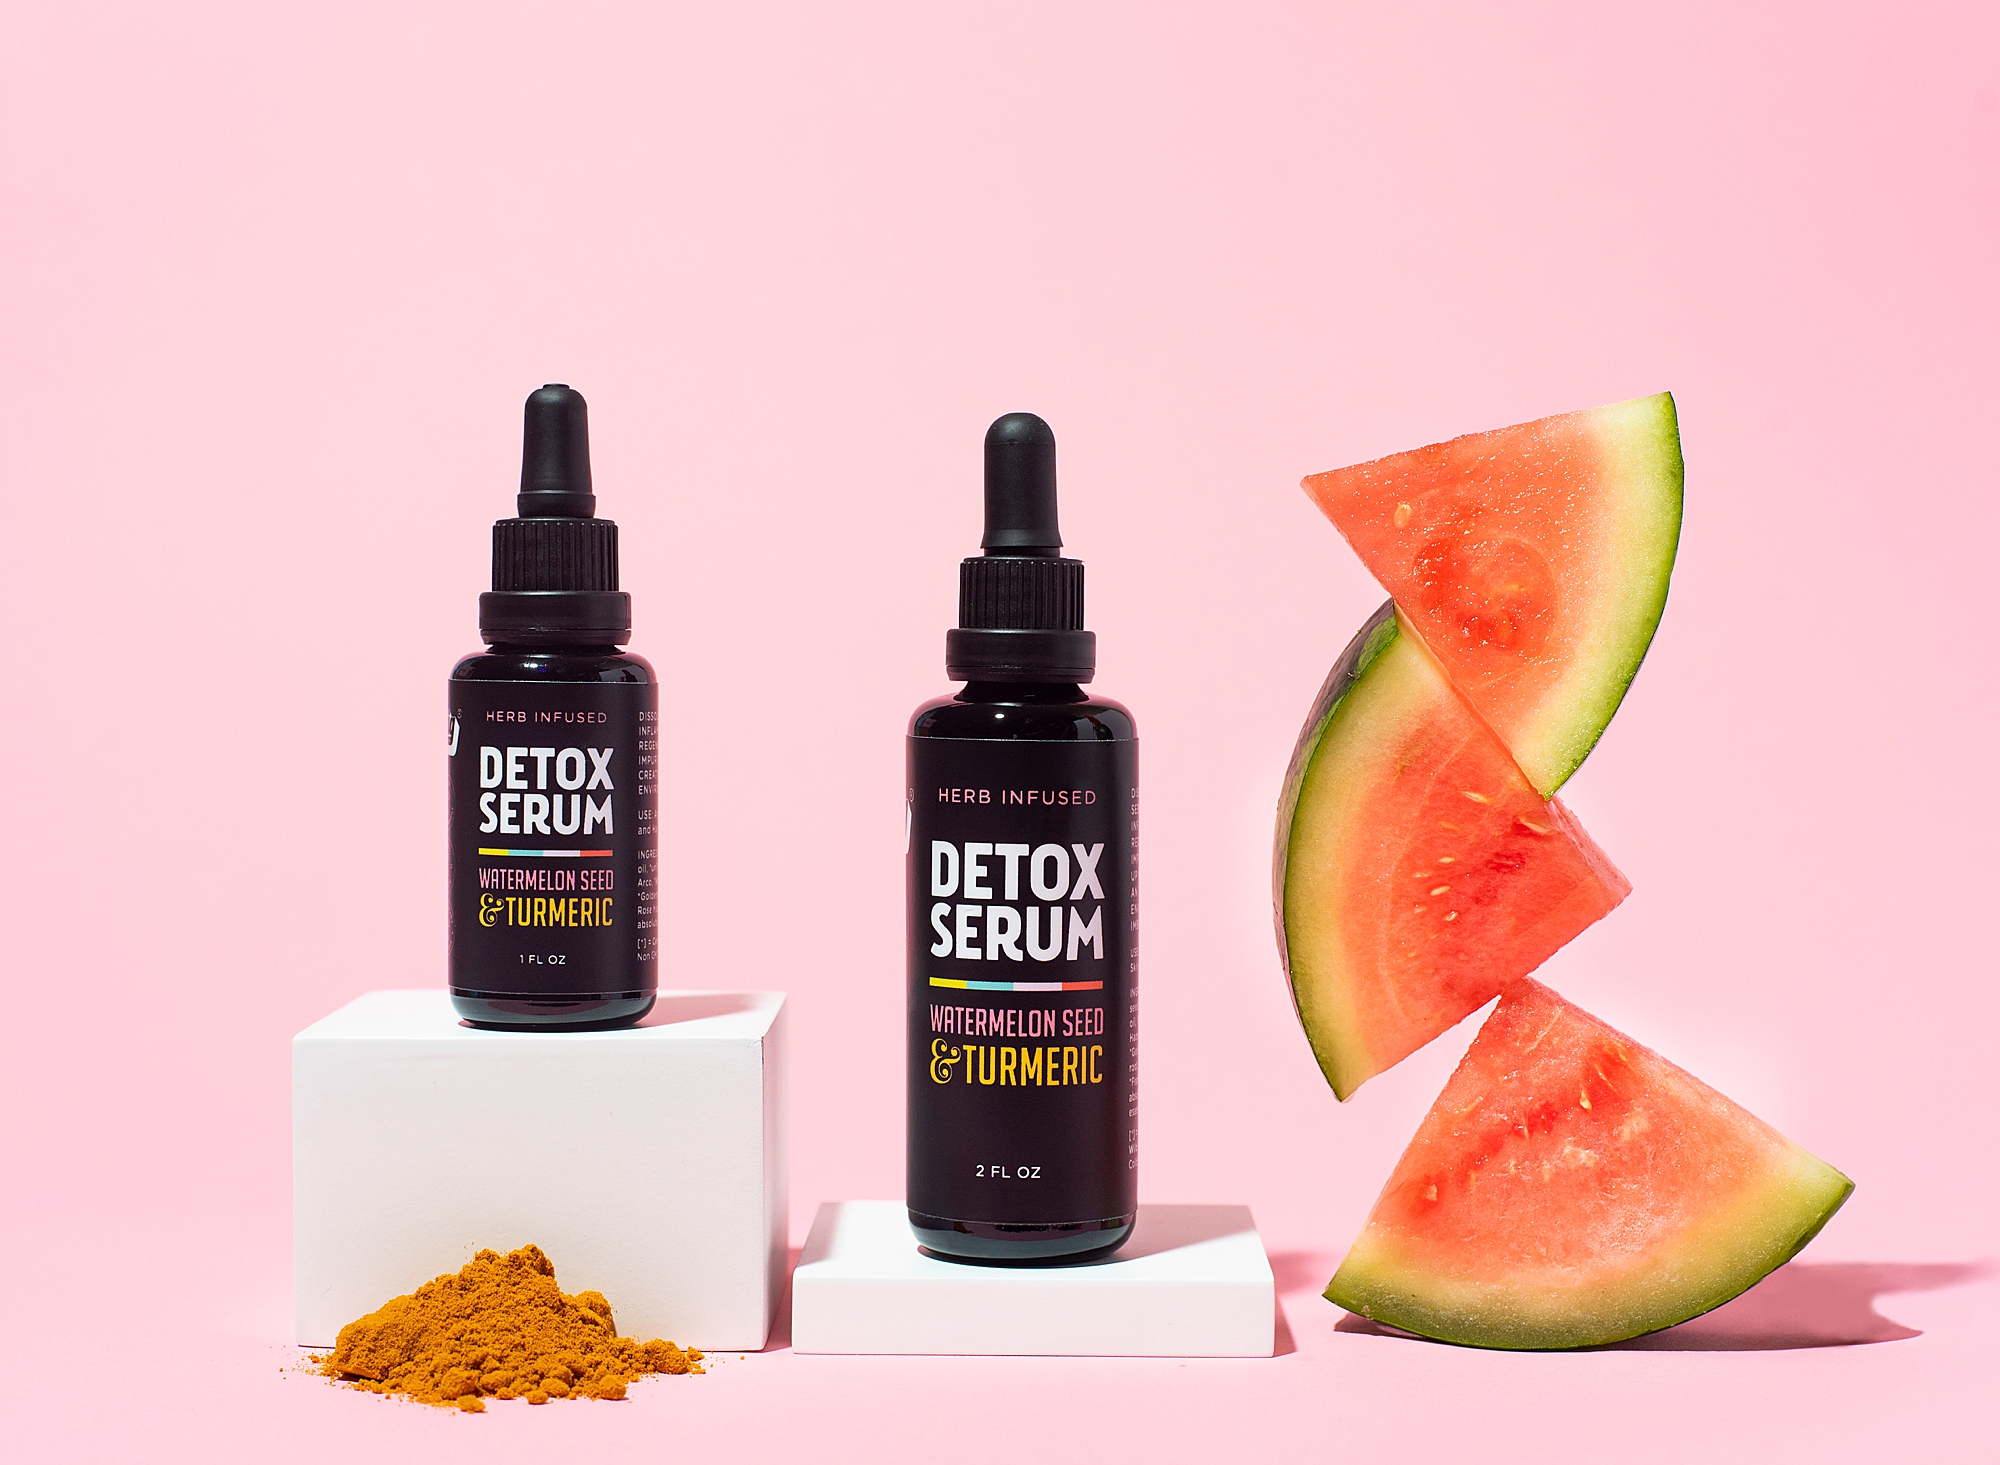
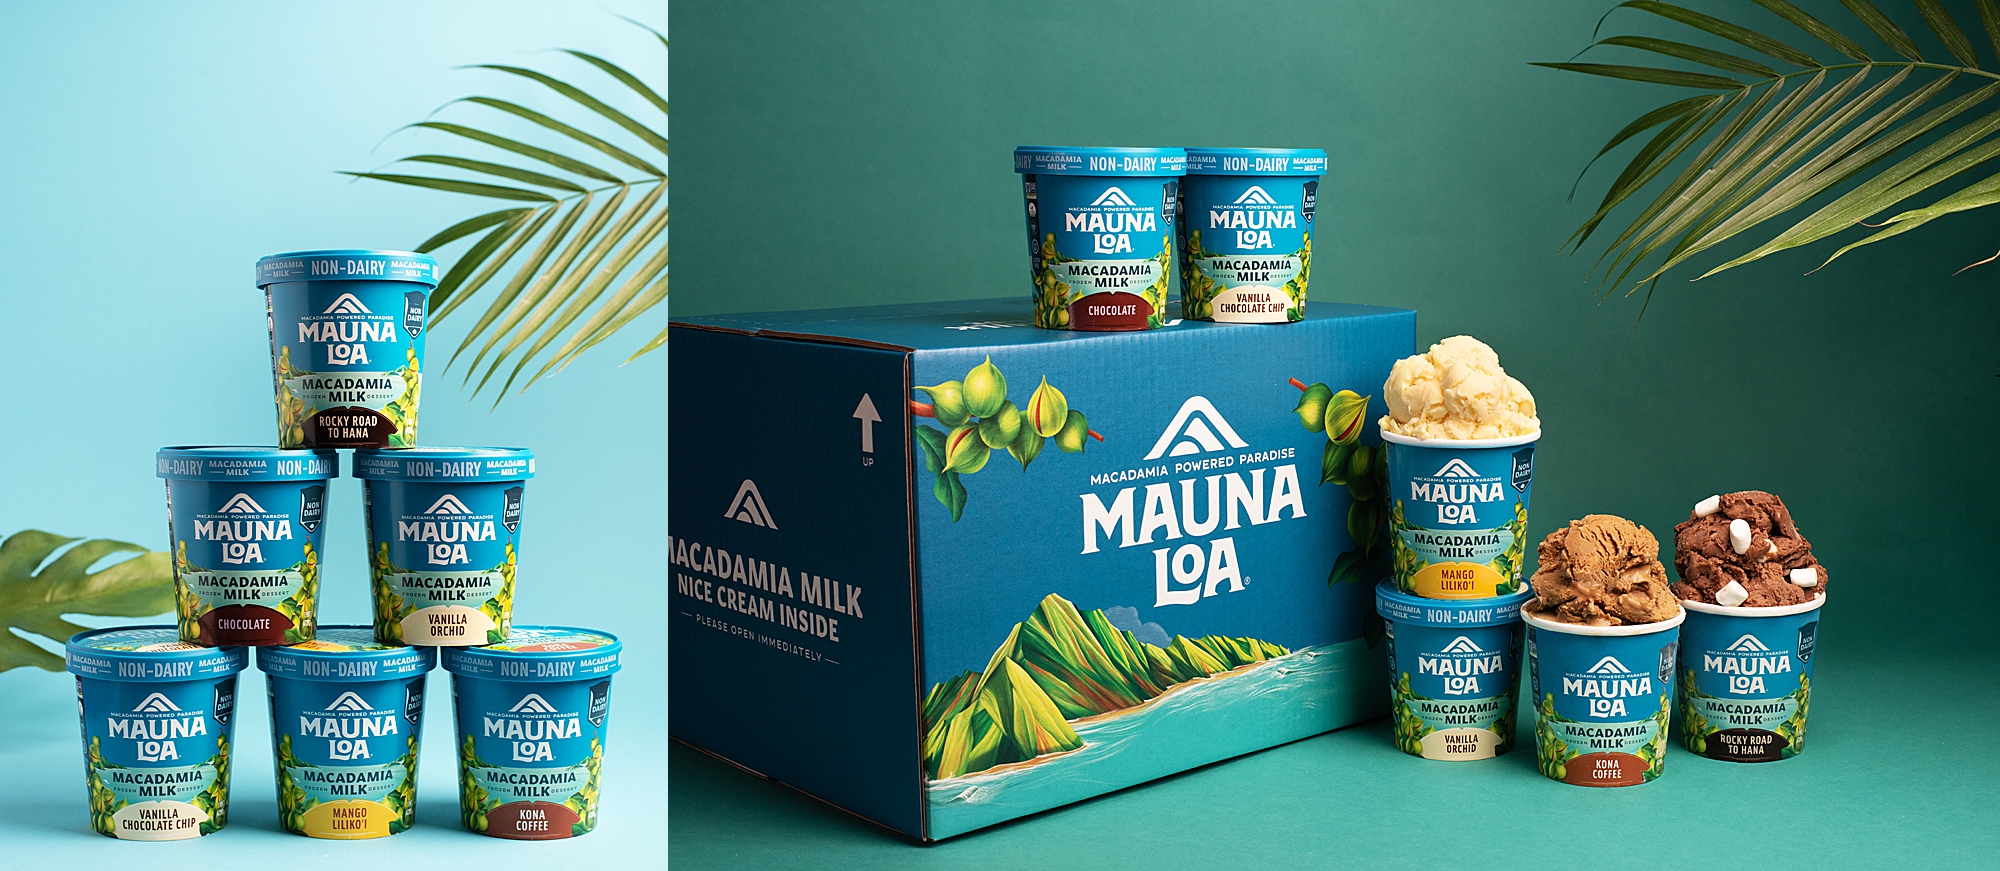
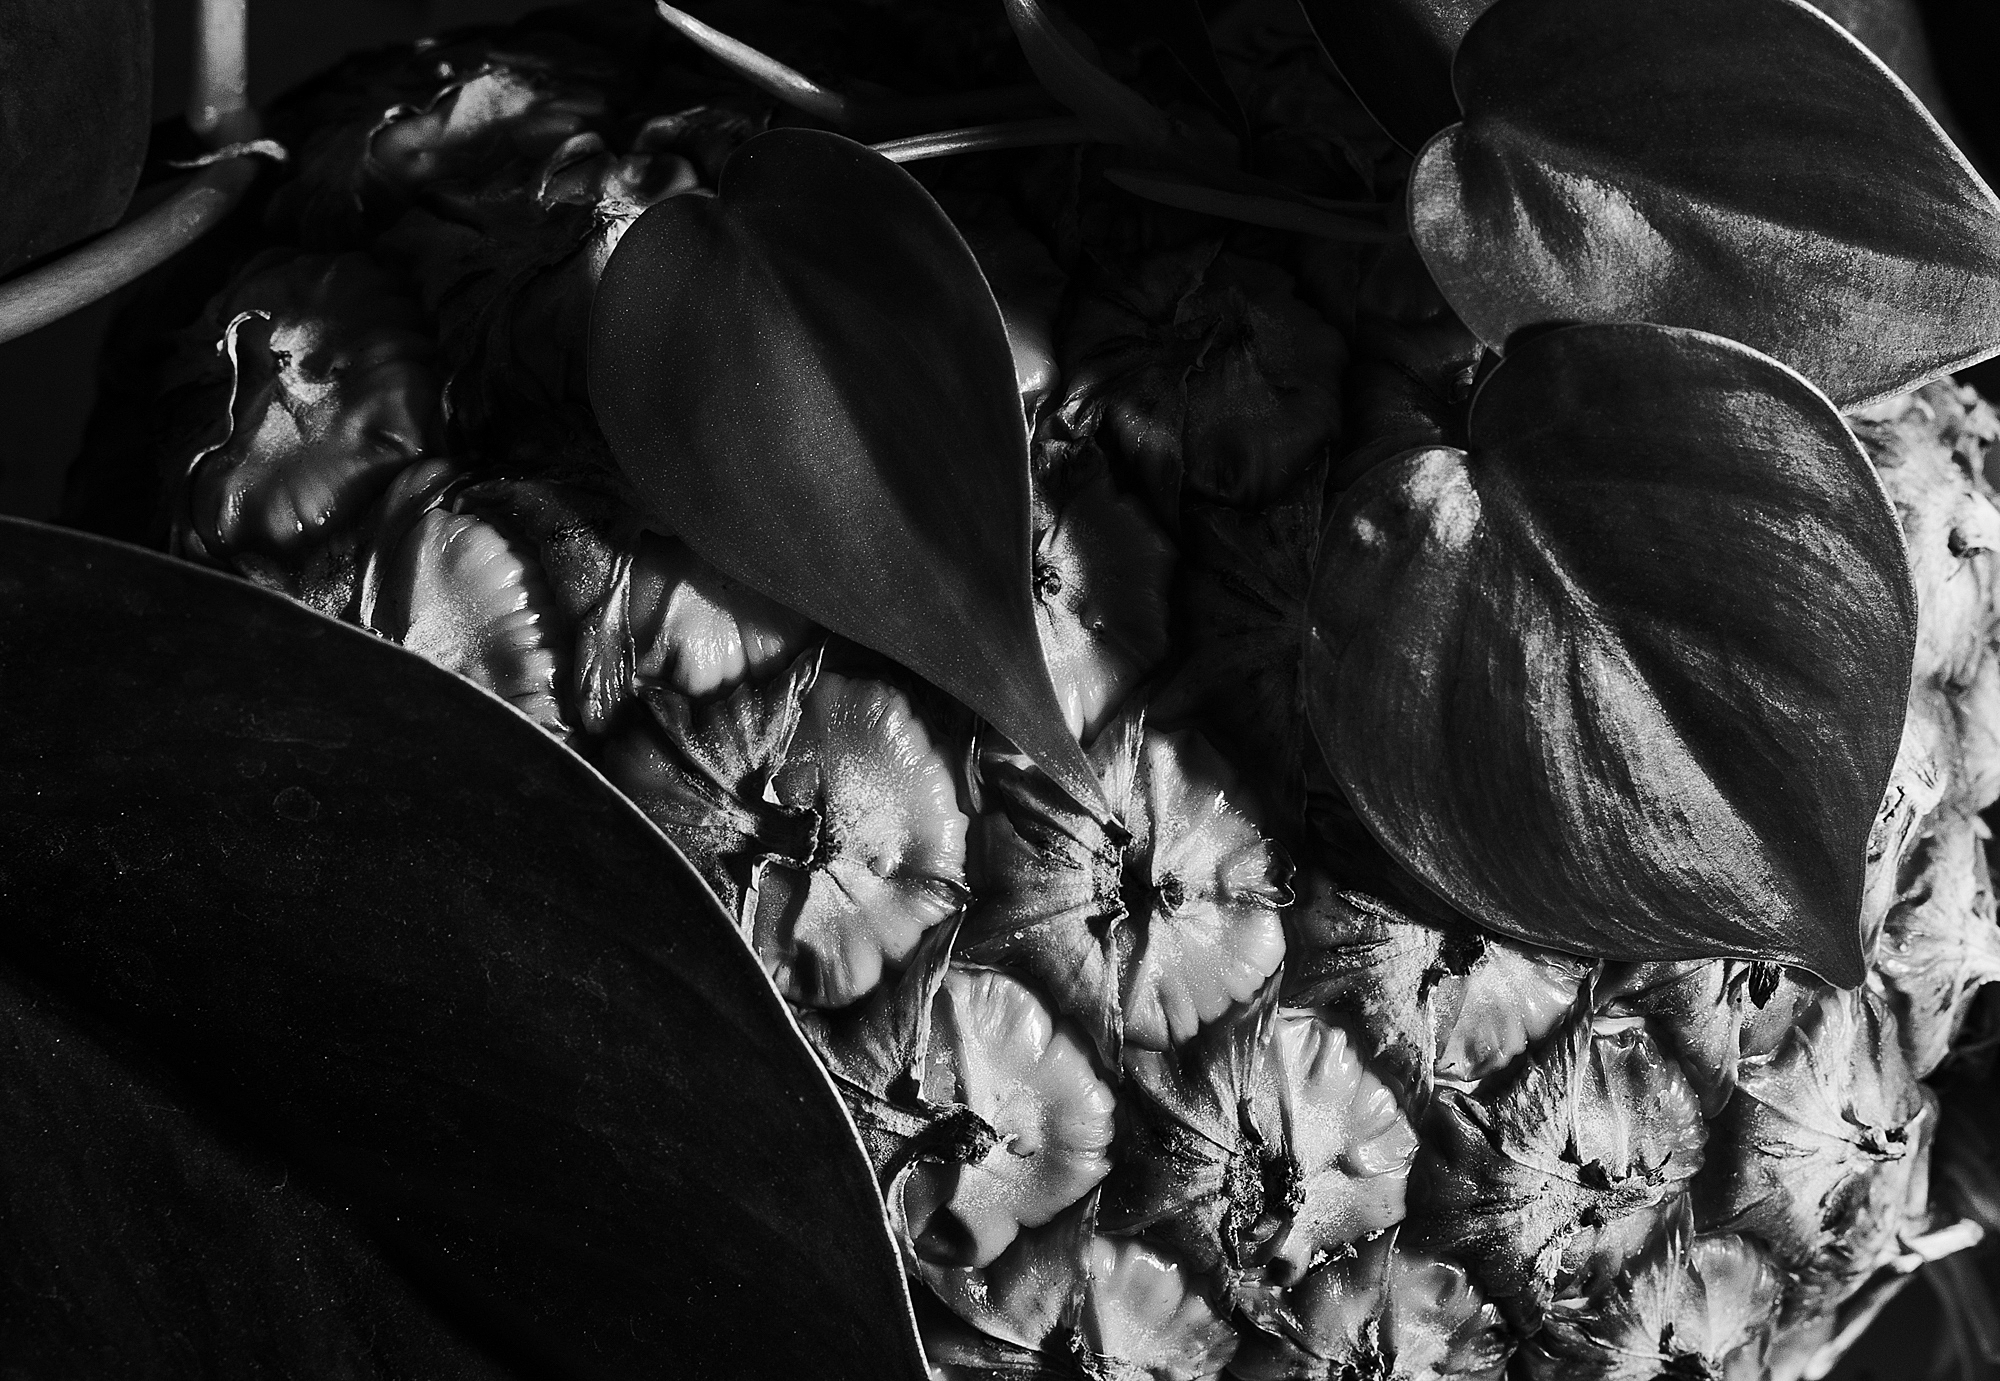
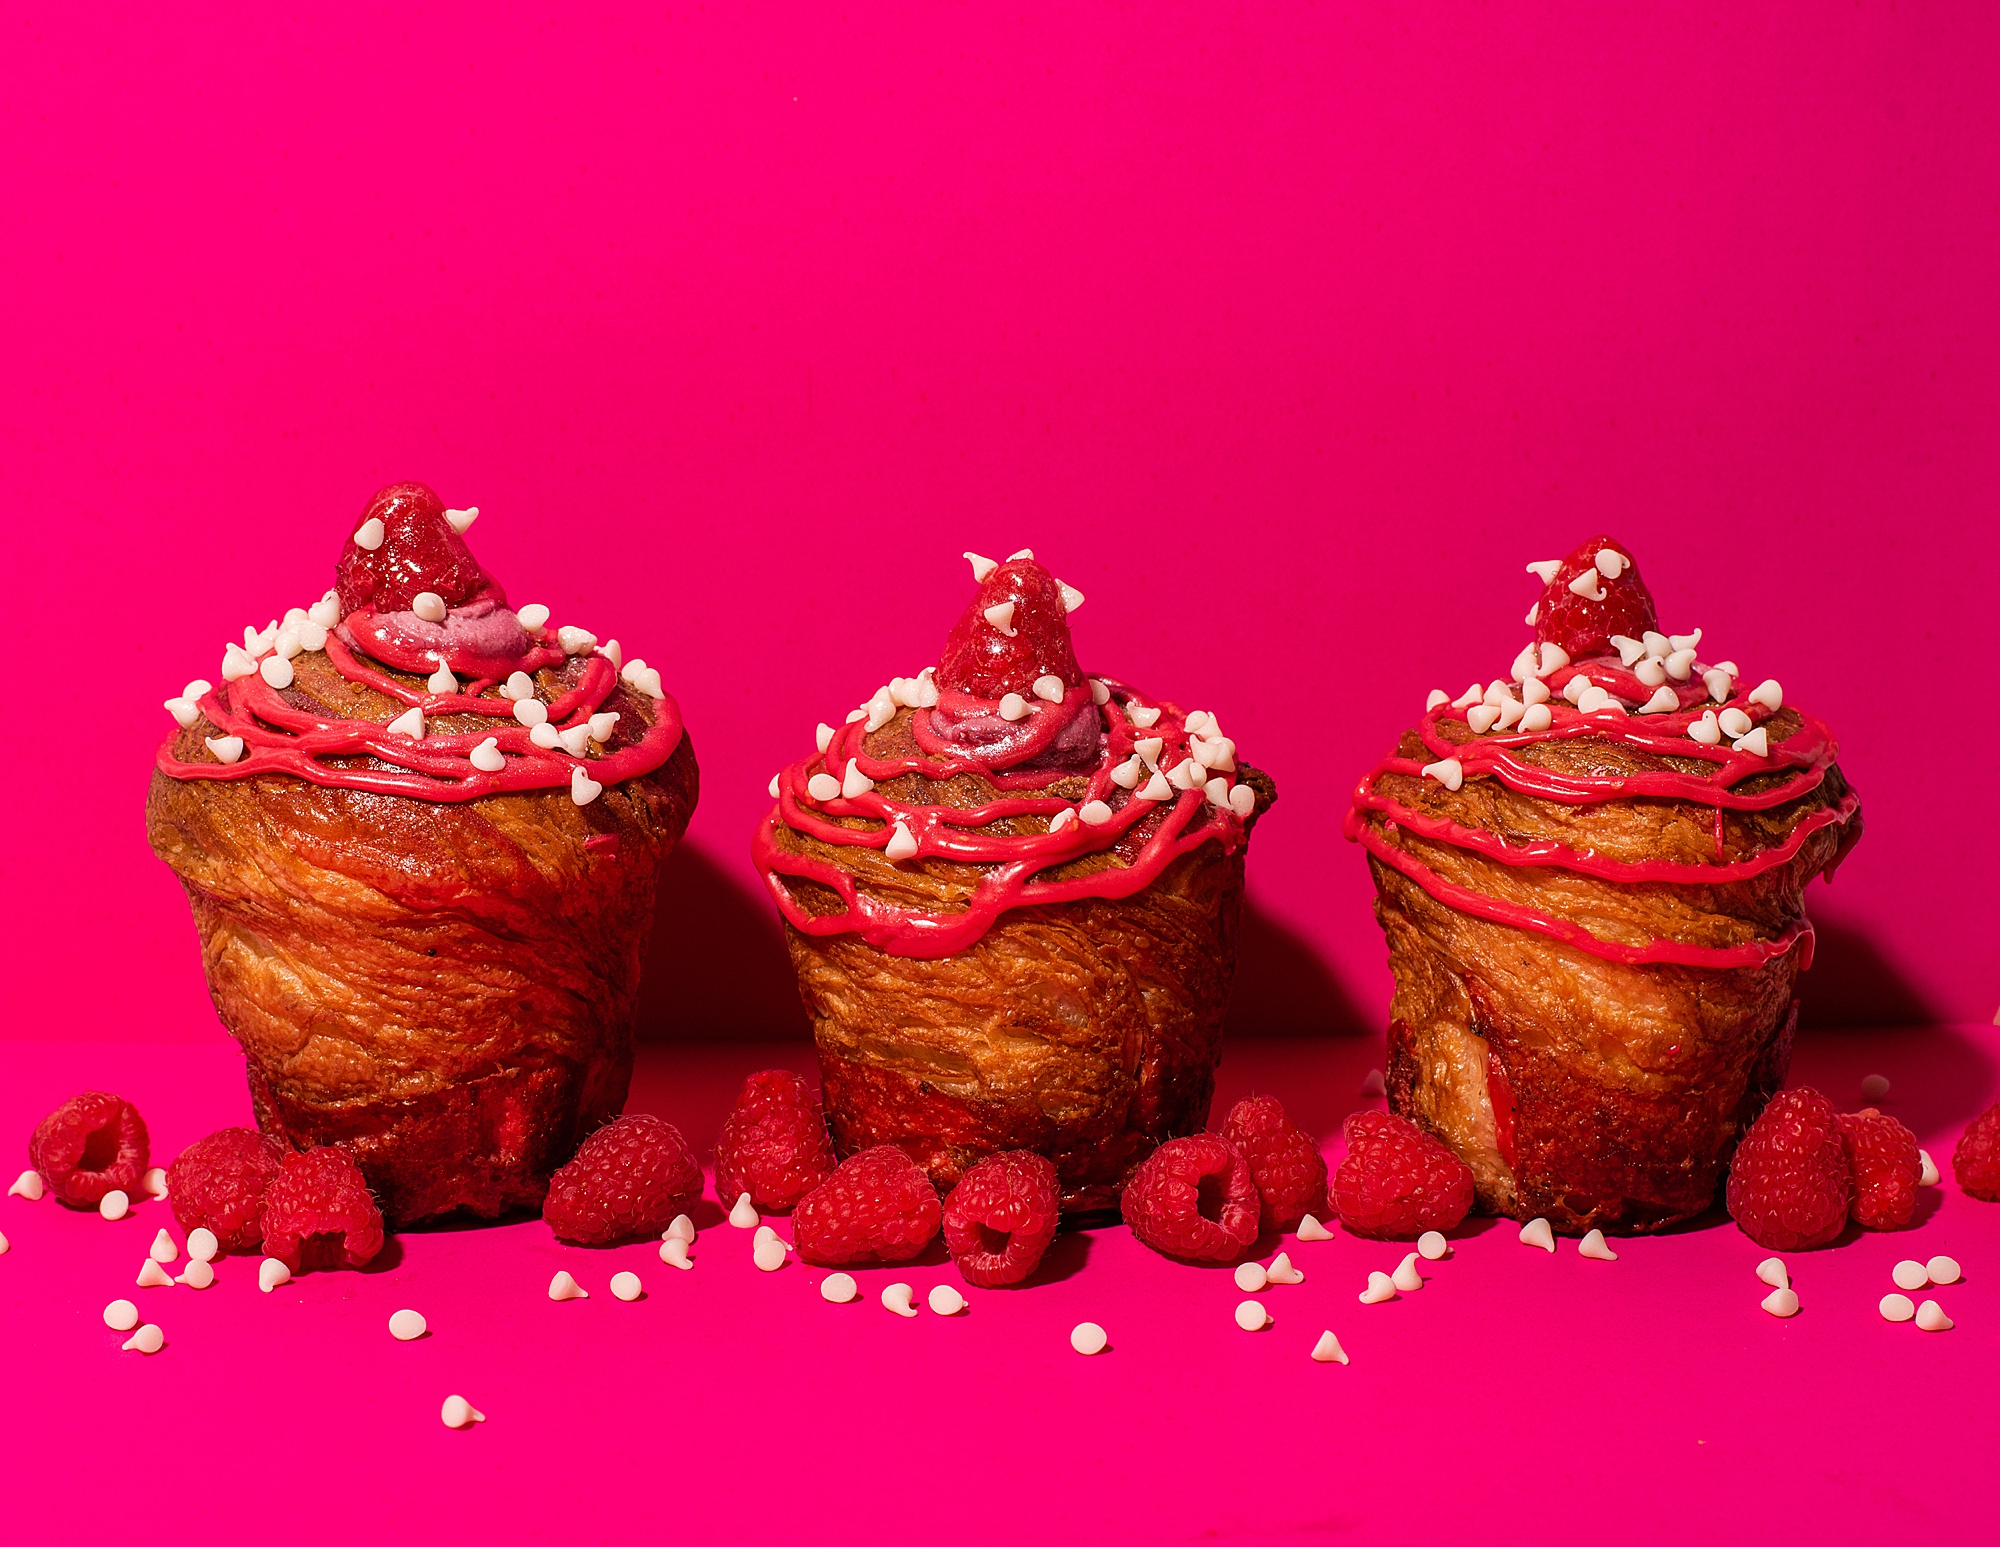
While I would love to have Professor X’s telepathic abilities (sans the creepy mind control), the truth is I need just a bit of guidance to nail your brand image and deliver the eye-catching photos you deserve.
But don’t worry, it doesn’t require toooooo much effort on your part. All I need is a handy shot list or mood board (aka inspiration board) to get a better idea of the overall look you want. A mood board is an effective way to share your brand’s unique style.
Mood Boarding = Visual Organizing
A mood board is a visual compilation – a collage – of photos and colors representing your vision. A mood board’s purpose is to make collaboration easier and help us achieve your project goals.
Whether we’re doing headshots or product photography, here’s a step-by-step guide on how to make a mood board for your upcoming session:
1. Find a home for your mood board.
First, you need to decide where you want to create your board. Pinterest is free, and you can adjust the notification settings if you don’t ever want to be bothered by them.
If you want to create the images, colors, and ideas yourself, customizable Canva mood boards are awesome, too (you can use the free version – I don’t mind the watermarks). Canva gives you more control.
And if those don’t suit your style and needs, a quick search for “mood board creator” will show you more options.
2. Define your brand.
Jot down the guidelines for your inspiration board (for both of us). It’s so easy to get a little pin-happy, so keep in mind every image should stick to your brand’s parameters. Instead of pinning anything and everything that appeals to you, think about your brand’s:
- Mission
- Values
- Target Audience
- Aesthetic
- Emotions
- Messaging
To keep you on track, if it’s not in line with your brand’s core identity, throw it out.

3. Select your colors.
Before getting too lost in the addictive pinning process, refine your search a bit. Select a general color scheme. Or, if your brand already has set colors, write down the color specifications, and pin your brand’s color pallet to the board.

4. Think out of the box.
While our session may focus on headshots, workplace candids, or product photography, your mood board images aren’t limited to those types of photos. Feel free to pin textures, patterns, fonts, words, abstract art, etc. (if they’re in line with your brand, of course).

5. Do some trimming.
Mood boarding is one of the most fun parts of the planning process. If you’re a happy pinner like me, sometimes it helps to go back a day or two later and refine your board. You may want to switch out some images or toss some that aren’t necessary. However, this is all just part of brainstorming. It doesn’t have to be perfect (please don’t narrow it down to three lonely images). I’d love to see whatever you’ve got, and I’m happy to help with the process!
Lindsay is a Los Angeles-based food, product, and commercial photographer. She specializes in Still Product & Food Photography, Lifestyle & Portrait Photography, Stop Motion, and Food Styling. Connect with her HERE for product marketing!

you said: