
Post Production for Food Photography
Oh haaaaaayyy! This is my first blog post! I’ve had a couple of ideas for little blog series that I’d like to start doing, but figured my first one should be something simple, and something that gets asked about a lot! And that’s basic post-production for food photography!
How much retouching goes into food photography?
Well, the short answer is – it depends. Different jobs and scenarios call for different retouching processes. I figured I would show a couple before and afters of different photos and explain what was done to them so you could get the idea!

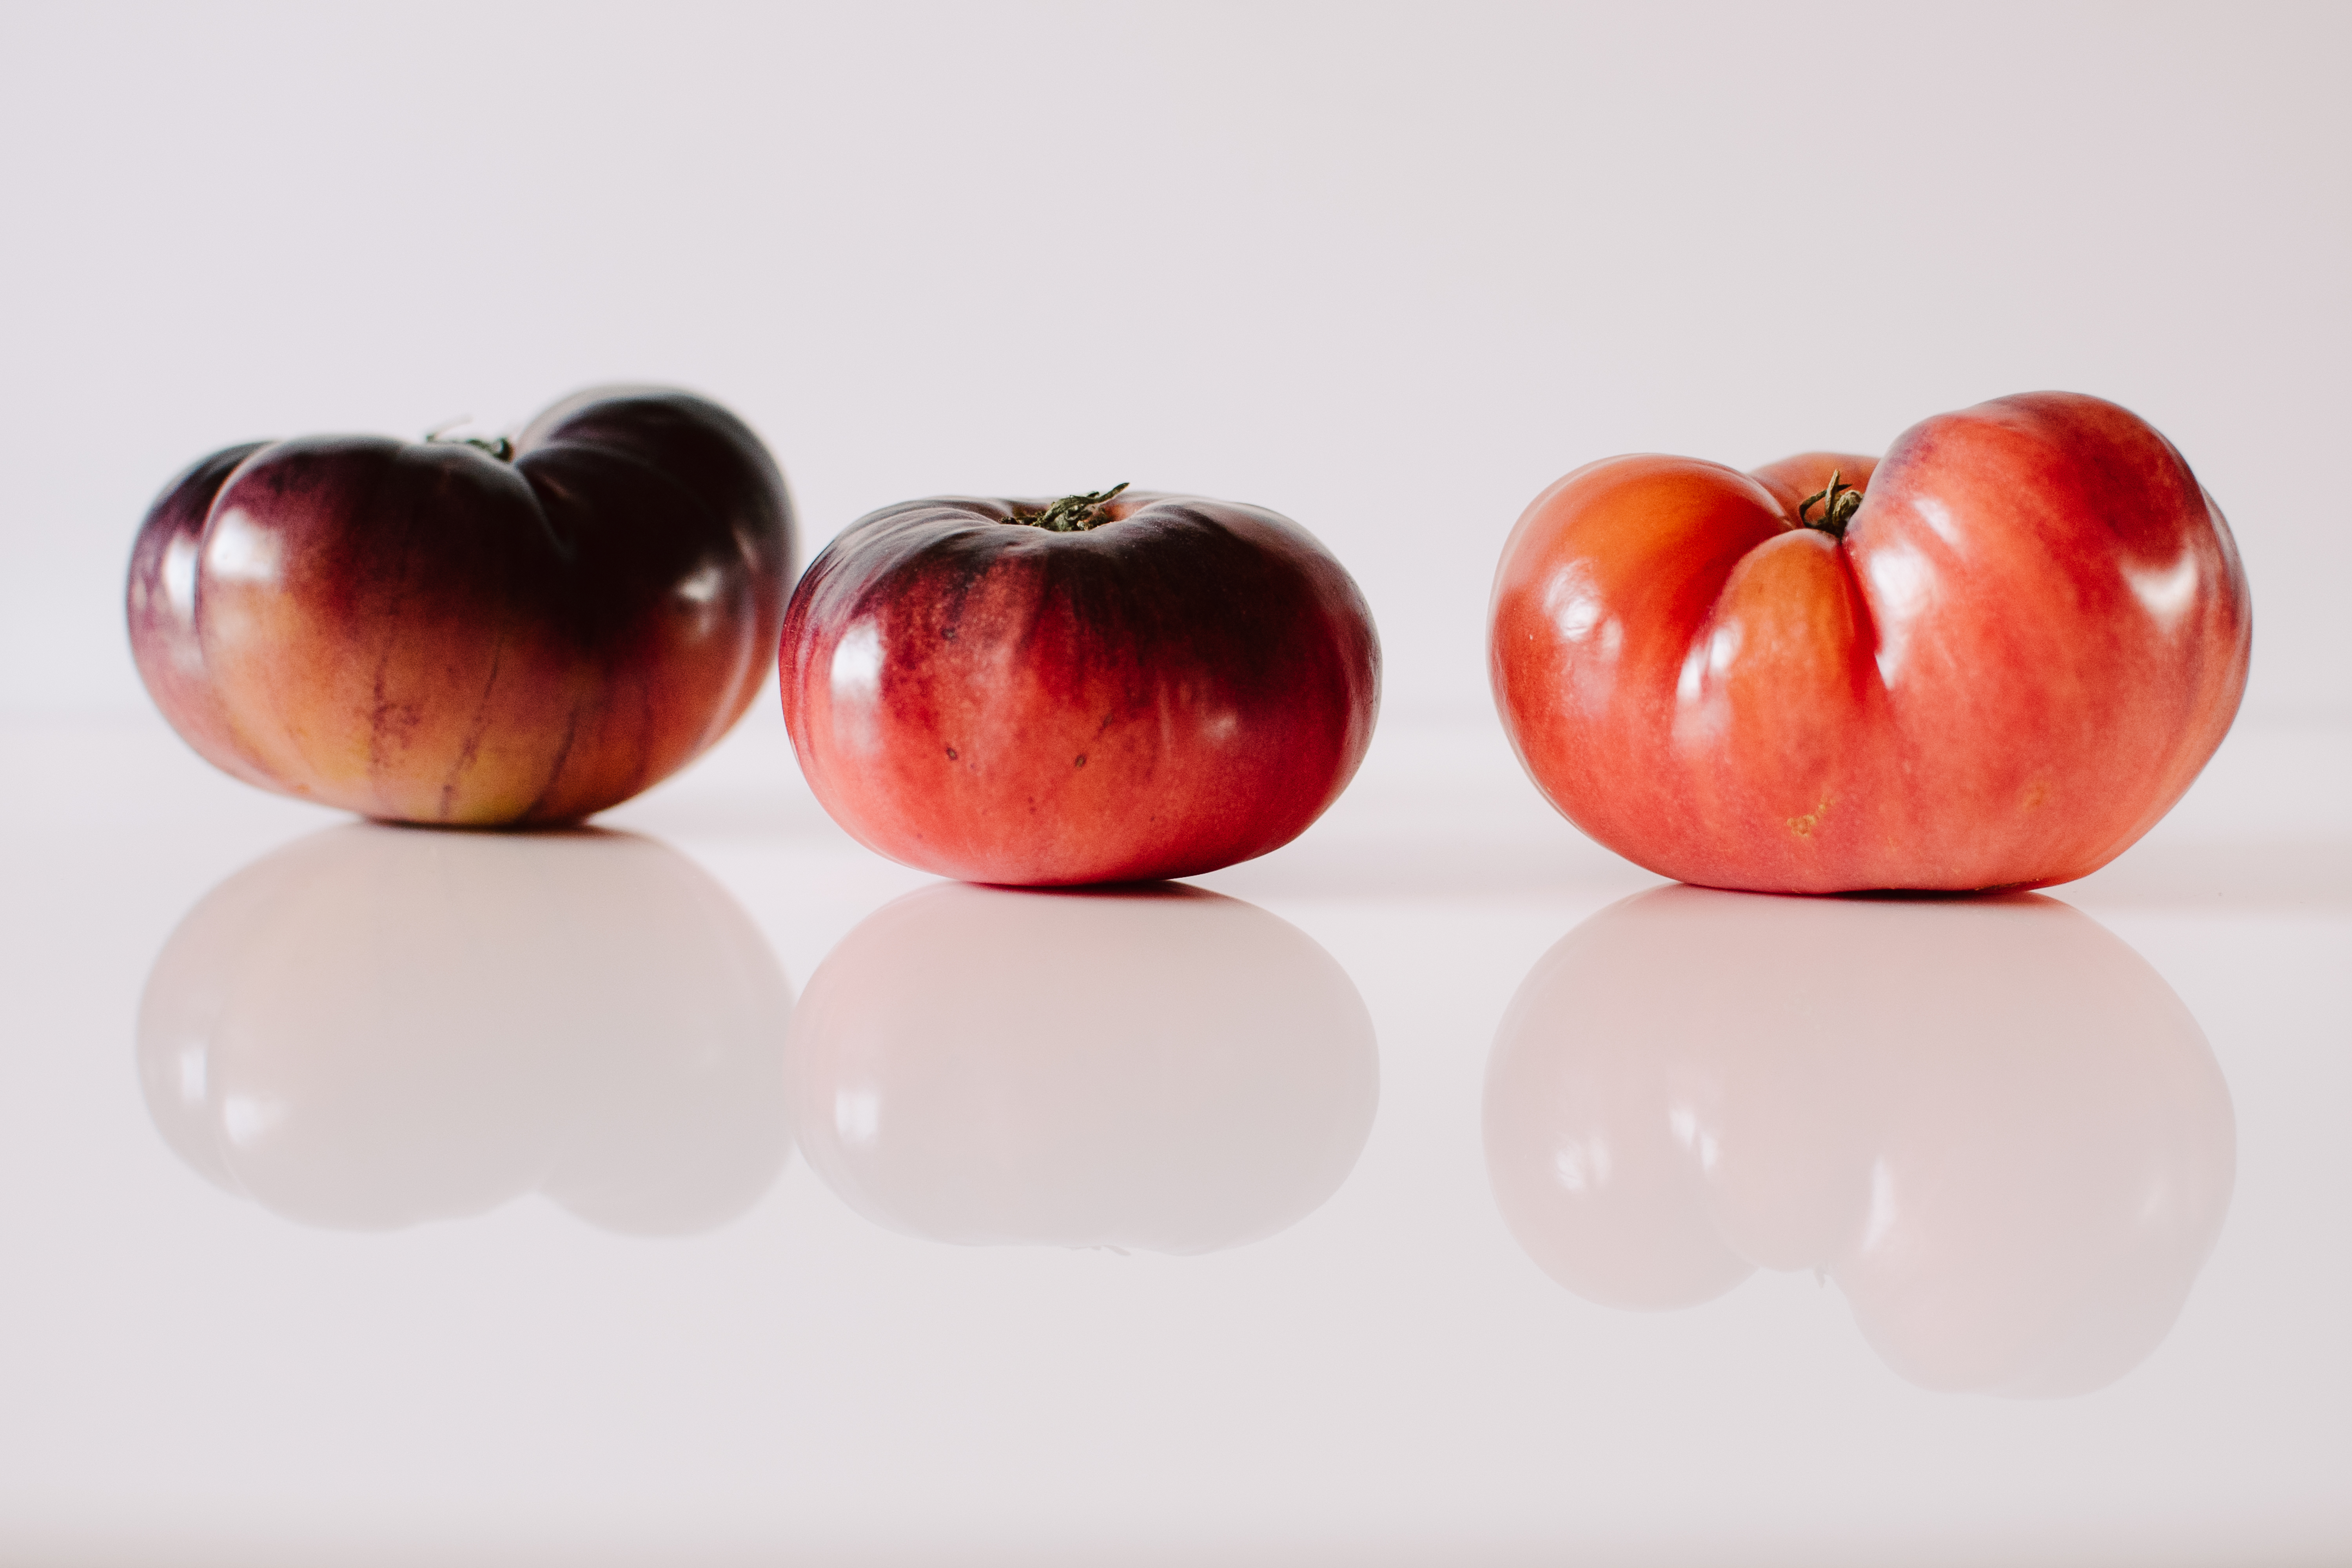
This was more of an artistic project, not for a brand or product. For this image, I wanted to make sure that the tomatoes were the only focus of the photo. So, I removed the crease between my backdrops with a clone stamp and smoothing tool, and added some contrast & then warmed the image up a bit. Simple!

For this image, we wanted the background to be pure black, so the seam between backgrounds was removed with a healing brush. Contrast and a little bit of sharpening was added. If you can see in the first image, there are small bits of crumbs and seeds from the bread in the image, and those were just removed with a spot removal tool.

This image is a bit more lifestyle in nature than the previous two. You can see the main issue with this image is the visible scratches on the surface the lemon bar is sitting on. For this issue, I simply used a clone stamp tool and placed the scratched surface with a non-scratched surface from another part of the image. Then, to conceal it a bit more, I used a mask to “burn” or darken the parts that were retouched. Then, a little bit of white balance, contrast & saturation added to this photo and voila!
Shooting to reduce post-production time
These may not seem like difficult edits, but these are the most common ones I see. I would also like to say that there is a reason that there isn’t a TON of retouching done on these. I shoot to reduce my time in post-production. It may take me a few tries to get the light the way that I want. That small amount of shoot/test/shoot/test time drastically reduces the time I spend on post-production.
Another note to make is that you don’t want to put a crazy Lightroom preset or a filter on your food images. Less is more in this situation. This is especially true when you’re trying to showcase an item that you or your client is trying to sell. Things need to be true to color. People don’t want to look at a burger with muted greens or a scoop of vanilla ice cream that looks yellow from a “warm & moody” preset. They’re sharpened and made to look vivid and bright, but there are never crazy drastic edits to colors.
Thanks for reading! Hope this gives you a little insight into post-production in food photography! I’m looking forward to sharing more with you!
Contact me with any other questions!
you said: